aramb@localhost ~ $ echo "Welcome to my iTerm setup!"
Welcome to my iTerm setup!
aramb@localhost ~ $ _
About My Setup
I've customized my iTerm2 terminal for both functionality and aesthetics. This configuration features:
- Custom color scheme that adapts to light/dark mode
- Optimized key mappings for improved productivity
- Configured for integration with modern tools
- Visual bell and notification settings
- Customized cursor and text rendering
On this page, you'll find my complete configuration files and step-by-step instructions for setting up your own terminal environment.
Configuration Features
Color Scheme
My color scheme uses different palettes for light and dark modes. The dark mode features a sleek dark background with vibrant, readable text colors, while light mode uses a crisp white background with dark text for better daytime readability.
Key Mappings
I've set up custom key bindings that make terminal navigation more efficient. Some notable mappings include:
- ⌥← and ⌥→: Jump between words
- ⌘↑ and ⌘↓: Scroll through output
- ⌘⇧← and ⌘⇧→: Switch between tabs
Integration Features
The configuration includes built-in integration with:
- Shell Integration for better history tracking and navigation
- Smart selection for URLs, file paths, and IPs
- Customized AI prompt configuration
- SSH URL handling for seamless connections
Visual Preferences
My visual settings create a clean, distraction-free environment:
- Slight background transparency with blur effect
- Custom cursor style and blinking settings
- Visual bell instead of sound notifications
- Powerline-compatible font rendering
- Subtle timestamp display in the terminal
Configuration Files
Download my iTerm2 configuration files to set up your own environment. Each file serves a specific purpose in the setup:
Installation Guide
Prerequisites
- Download and install iTerm2 if you haven't already
- Download the configuration files from the section above
Method 1: Import Color Preset
- Open iTerm2
- Go to iTerm2 > Preferences > Profiles > Colors
- Click on Color Presets... dropdown
- Select Import...
- Navigate to and select the downloaded
aramb-dev.jsonfile - Click on Color Presets... again and select aramb-dev
Method 2: Import Key Bindings
- Open iTerm2
- Go to iTerm2 > Preferences > Keys > Key Bindings
- Click on Presets... dropdown
- Select Import...
- Navigate to and select the downloaded
key-bindings.itermkeymapfile
Method 3: Complete Configuration
- Quit iTerm2 completely
- Open Finder and press ⌘+Shift+G
- Enter
~/Library/Preferences/and click Go - Make a backup of your current
com.googlecode.iterm2.plistfile if it exists - Copy the downloaded
com.googlecode.iterm2.plistto this directory - Restart iTerm2
Note: This method will replace your current iTerm2 settings. Make sure to back up your existing configuration first.
Advanced Configuration
Customizing the Profile
You can further personalize the profile by modifying:
- Font type and size (I use Monaco 12pt)
- Background transparency level (currently set to ~10%)
- Terminal window style and dimensions
- Status bar components and layout
Access these settings through iTerm2 > Preferences > Profiles after importing the configuration.
Shell Integration
My configuration includes iTerm2's shell integration features. To enable these fully:
- Open iTerm2
- Go to iTerm2 > Install Shell Integration
- Follow the on-screen instructions
This enables features like command history tracking, better navigation, and more.
AI Integration
My configuration includes a custom AI prompt configuration that works with Hack Club's AI terminal integration:
AI Prompt: Return commands suitable for copy/pasting into \(shell) on \(uname).
Do NOT include commentary NOR Markdown triple-backtick code blocks as your whole
response will be copied into my terminal automatically.

The script should do this: \(ai.prompt)
This configuration is designed to produce clean command outputs that can be directly executed.
Setting Examples
Profile & Terminal Settings

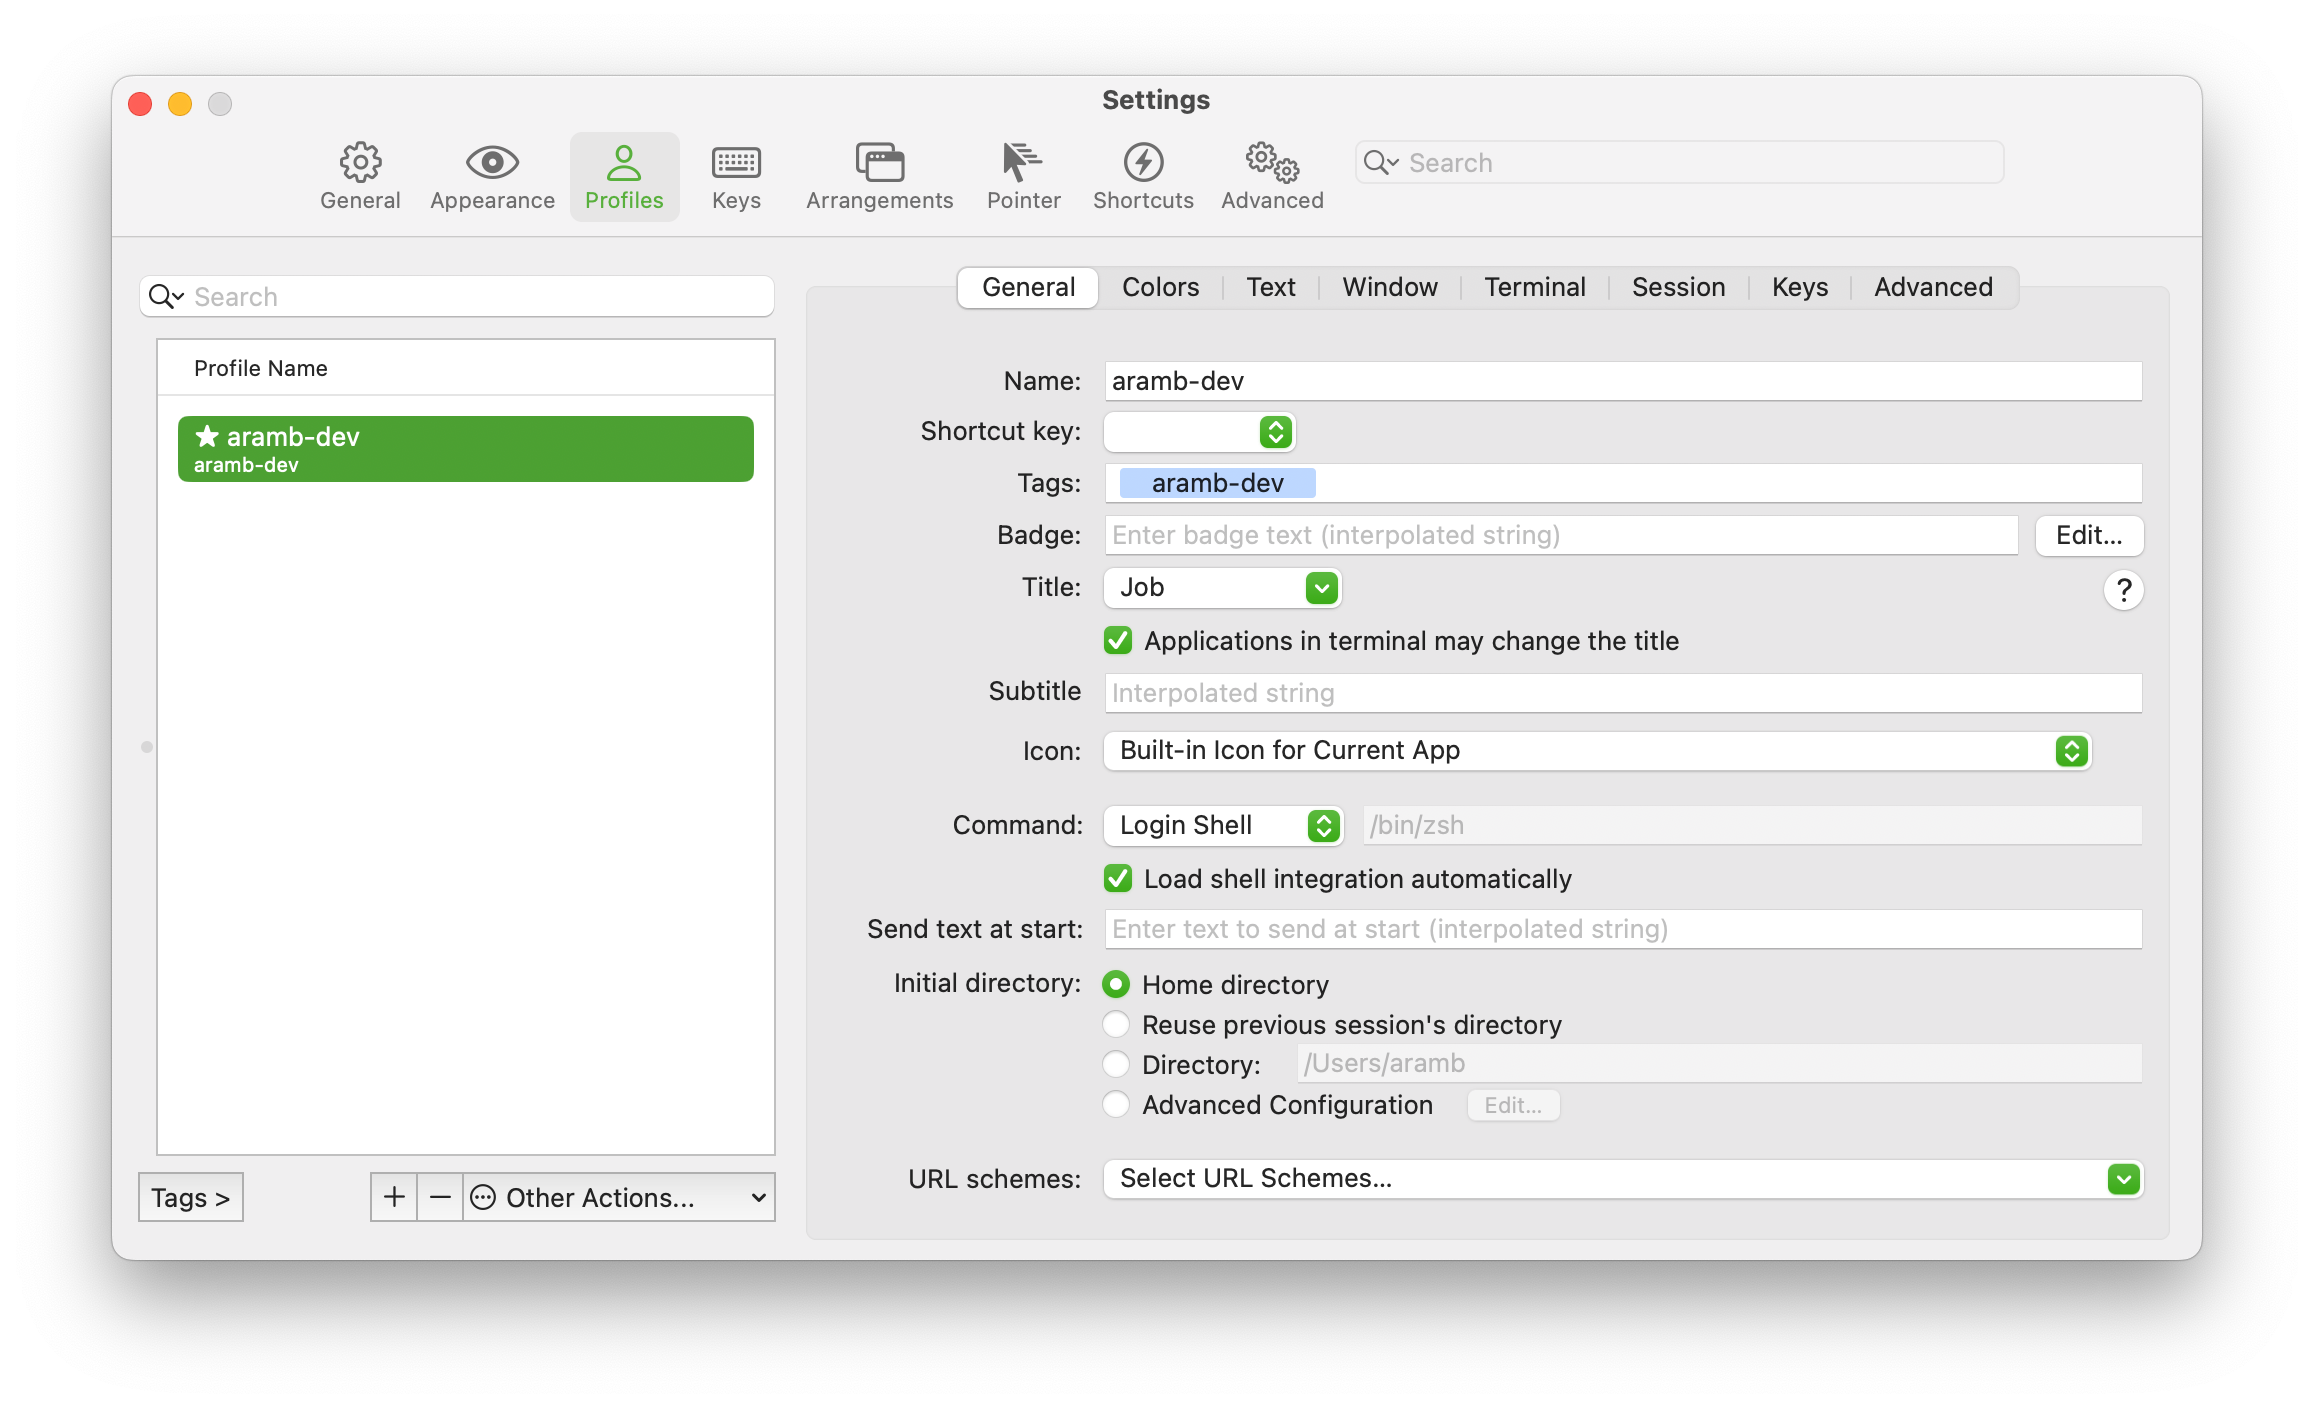
Profile configuration with custom options
Key Features:
- Monaco font at 12pt for optimal readability
- 10% background transparency with blur
- Cursor set to vertical bar with blink enabled
- Terminal type: xterm-256color for best compatibility
- Unicode normalization: NFC
Recommended settings:
Columns: 120
Rows: 36
Scrollback lines: 10000
Color Scheme Configuration
aramb@macbook ~ $ ls -la
total 112
drwxr-xr-x 15 aramb staff 480 Feb 25 13:45 .
drwxr-xr-x 6 root admin 192 Dec 9 09:12 ..
-rw-r--r-- 1 aramb staff 3520 Feb 25 13:45 .bashrc
-rw-r--r-- 1 aramb staff 157 Feb 25 13:38 .gitconfig
drwxr-xr-x 12 aramb staff 384 Feb 25 13:30 Documents
drwxr-xr-x 15 aramb staff 480 Feb 25 13:12 Projects
aramb@macbook ~ $ _
Dark mode terminal appearance
Color Palette:
Color configuration:
Both ANSI colors and bright versions are customized
Background opacity: 90%
Different color schemes for light/dark mode
Key Mapping Configuration

Custom keyboard shortcuts configuration
Key Shortcut Examples:
| Shortcut | Action |
|---|---|
| ⌥← | Move cursor one word left |
| ⌥→ | Move cursor one word right |
| ⌘↑ | Scroll one page up |
| ⌘↓ | Scroll one page down |
| ⌘⇧← | Previous tab |
| ⌘⇧→ | Next tab |
Shell Integration Features
✓ aramb@macbook ~/Projects $ cd my-project
✓ aramb@macbook ~/Projects/my-project $ git status
On branch main
Your branch is up to date with 'origin/main'.
nothing to commit, working tree clean
✓ aramb@macbook ~/Projects/my-project $ _
Shell integration with command status indicators
Shell Integration Benefits:
- Command status indicators (success/failure)
- Jump to previous commands with ⌘↑/⌘↓
- Command history tracking across sessions
- Automatic directory tracking
- Command timing information
- Integrated with iTerm2's toolbelt features
- Smart selection of file paths, URLs, and commands
Installation:
iTerm2 > Install Shell Integration
Questions or Feedback?
If you have any questions about my iTerm2 setup or suggestions for improvements, I'd love to hear from you!
Contact Me